Cabinetry for Farmhouse Sinks
Construction details for farmhouse sink cabinets have to include structural support for the heavy, bulky sink. September 15, 2011
Question
I need to build the cabinet for a Whitehaus exposed front farm sink. Itís the first one I've had to do. It seems like it needs to be the width of the sink only? Can anyone help with the design?
Forum Responses
(Cabinetmaking Forum)
From contributor K:
We do quite a few of the farm sinks, but I don't specifically know if any have been the Whitehaus. I do know that a lot of the farm sinks are handmade and therefore are each one individually sized. We have the contractor or customer get us the sinks before we will proceed. Due to this we have had to hold on the sink cabinets a time or two, but usually have plenty to do on the job until we get the sink.
From contributor U:
You want the sink before you start building. I've had ones that deviated 3/16" from their specifications. For most of the ones I've done, the cabinet is simply a pedestal to support the sink. But I've also had one that needed a partial frame in front. Some of the sinks go all the way back to the wall, some don't. Also, some are designed to project an inch or two in front of the adjacent cabinets, while others are meant to be set flush. Make sure you know what your customer is expecting, and it can't hurt to confer with the plumber either.
From contributor J:
The easiest thing to do is to make the cabinet with a large slab false front to be cutout to accept the sink and a set of doors beneath. Keep in mind these sinks by themselves can weigh a couple hundred pounds, even more when filled with water so the cabinet needs to be very sturdy and a support frame to transfer the weight to the case sides is necessary. I know many cabinet builders that leave the support frame to the cabinet installer. (I use 2x4's usually to support mine or material milled to 2x4 dimensions).
You still want to have the farm sink first even if you build your cabinet this way because you don't want more than an inch or two of the slab front left after you make the cutout for the sink. In my opinion this looks good. What really looks great however is if the sink allows for sizing everything so that the sink's overall size lines up with the doors below, if this isn't possible then that's what the slab front is for. Always remember the slab front is nothing more than trim around the sink, it is not meant to carry any of the sinks' weight.
From the original questioner:
The ideas are coming now. I have the sink and can hardly lift it. I see that the sink front would be proud of the cut out front. Would the doors below close onto the cut out slab front?
From contributor V:
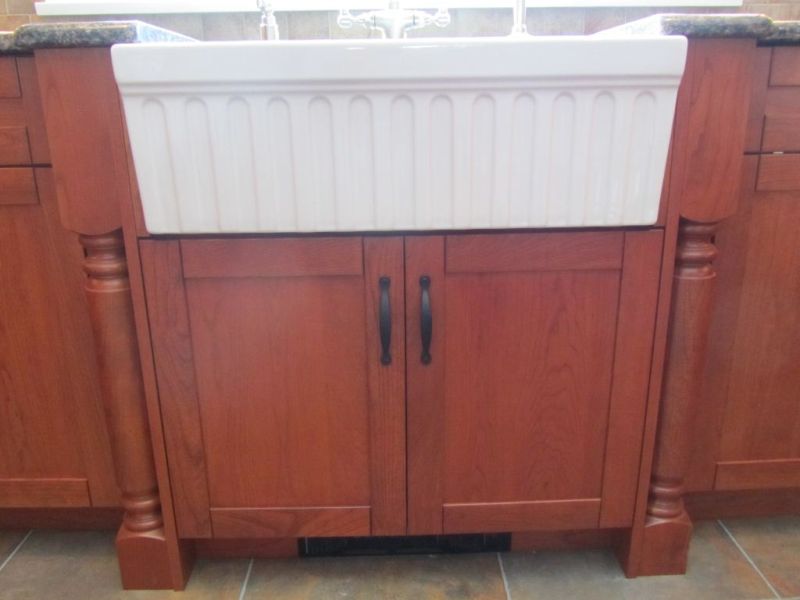
Hereís a Whitehaus sink. I built a short, full height door frameless cabinet with cleats to support the sink. The height was a couple of millimeters shorter than needed and the sink was shimmed flush to the countertop. The width was about a half inch wider than the sink as clearances were real tight on this kitchen. I would have liked to have gone wider, but couldnít, given the space limitations. Two full height slab end panels, which were actually part of the turning assembly, were used on each side of the cabinet, and finally two tapered fillers.

Click here for higher quality, full size image
From the original questioner:
Thanks Contributor V. Do you recall the cleat sizes? Why would you like more overall width? I think it looks good as is.
From contributor V:
I'm not sure what you mean by cleat sizes, but here is a little more information. The 30Ē sink came with some sort of metal leg or brace that I didnít use (there werenít any instructions). I just attached cleats, which were strips of plywood, to the sides of the cabinet with lots of screws. They went from the back of the cabinet to the back of the stretcher in the front of the cabinet. Shims were placed on top of the cleats to level the sink out. They were marked and cut and then were glued in place.
Had I been able to make the cabinet wider, the tapered pieces would have been easier to make and install and would have given me a little more wiggle room, but in the end everything turned out real nice and the client was thrilled.
From the original questioner:
Does the sink need support underneath, running from side to side? I would think it would help if it were full of water and an object hit the sink (it would probably crack anyway). I believe the optional rods sold by Farmhaus run under, side to cabinet side.
From contributor J:
I guess I should have specified in my earlier post that the slab front method with doors below is for a face frame cabinet. Contributor V's frameless looks great. In the Faceframe cabinet the doors do not close over the slab front. The doors are on the same plane as the slab front. Think of a regular face frame cabinet with false fronts. Make the false front bigger and the doors smaller and you're there. The reason for a wider cabinet and slab front on the face frame cabinet is so the slab front can be cut tight to the sink and you donít struggle cutting too close to the edge of the slab front.
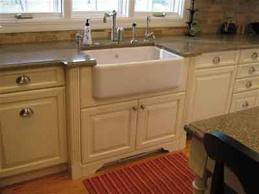
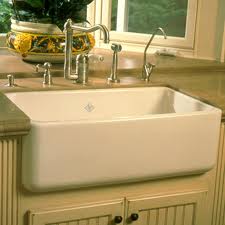
On frameless, Contributor V's example is the way to go. The first image shows the slab front. I like this because many farm sinks are irregular on the sides and it gives you something to cut for a clean tight fit. The second picture shows the same effect with the sink surrounded by the actual face frame of the cabinet. Itís harder to do but also a very clean look. Very careful planning was needed in the building of the cabinet in this instance. I also prefer the slab front in case damage occurs you are faced with replacing the slab front instead of trying to repair a face frame.


From the original questioner:
Nice work guys! Iím still wondering about the under support members (side cleats) but I worry without support from side to side running under the sink, behind and in front of drain holes.
From contributor V:
I have never run a support from side to side, but I'm sure it couldn't hurt. Just remember, if it is in the plumberís way, even slightly, he will probably knock it out.
From contributor B:
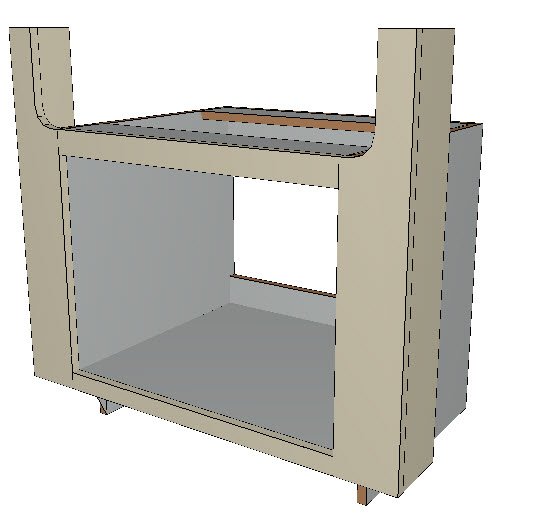
Here is my solution to supporting the sink - I build the case short so the sink sits on top of the case, and I build the case narrow. That way the cabinet ends bear the load of the sink. The faceframe has wide stiles, so the entire radius of the sink is cut out from the stiles. Here is an image to help explain it.

Click here for higher quality, full size image
From contributor H:
The photos provide by other posters provide lots of good insight as to how to make this work nicely. Contributor B's drawing adds clarity. In addition to the horizontal cleats, as seen in the drawing, I add two full interior sides supporting those cleats and make sure to carry the load to the floor. Also, due to the handmade nature of these sinks you are likely to need to try the sink fit more than once if your stiles are full height as drawn. That is a challenge that I try to avoid now at all costs.
I prefer adding some fitted wedges as seen in Contributor V's photo, though my cabinets are almost always full face frame construction. I tried the full size rail and that worked pretty well but I wasn't happy with the near feather edge at the top and that the horizontal panel was nearly all cut out. Fortunately, I think these style sinks will be out of favor soon - a thing of the past yet again. Of course the kitchen design elves will come up with another form of torture for cabinet makers.


