Here is our first drawing …… followed by the final drawing. Client needed more hanging space & less shelf space for clothes. We also decided to go without pulls or knobs by making the doors & drawers touch latch. They now make under-mount drawer slides that do this well and still roll in and out like silk.
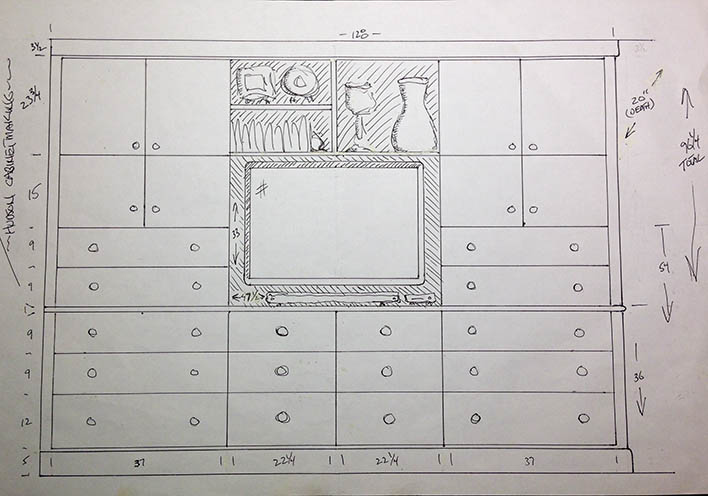
first drawing
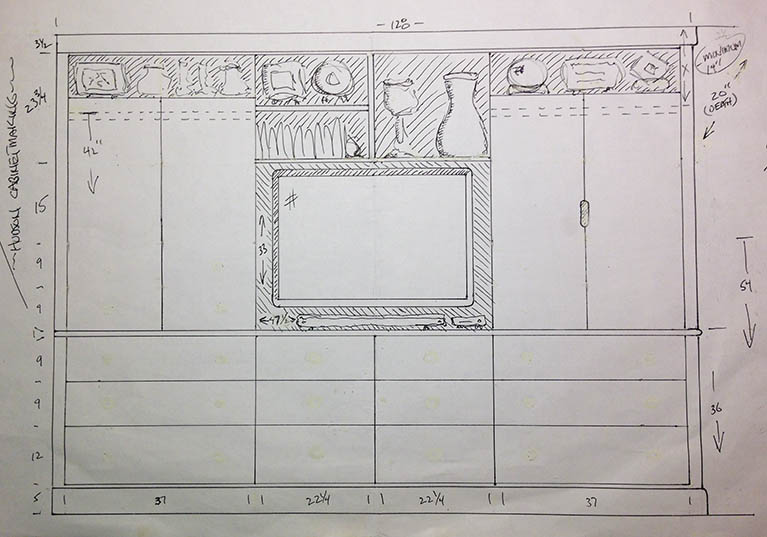
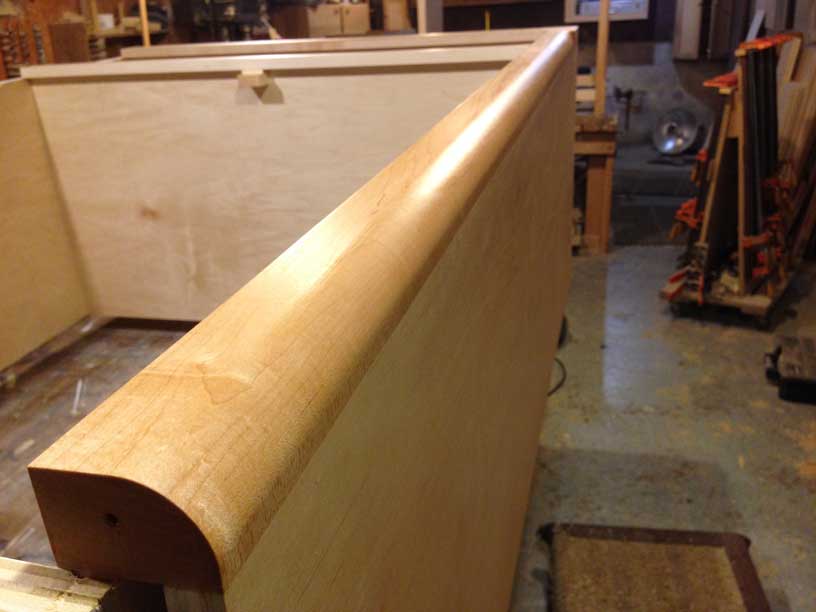
They wanted a clean, modern design and I wanted to create a piece that was more than just functional. I selected natural, blonde (no stain) maple for the material, clear tung oil and clear urethane for the top coats. One of the few places I had to show any detail at all was the right, outside, vertical corner. I decided to round-over edge (1.25” radius). Here are two close-up shots of that base cab & upper cab with the rounded stiles. I left the last 6 inches square at the floor and the ceiling to wrap both crown and base moldings square around that corner.
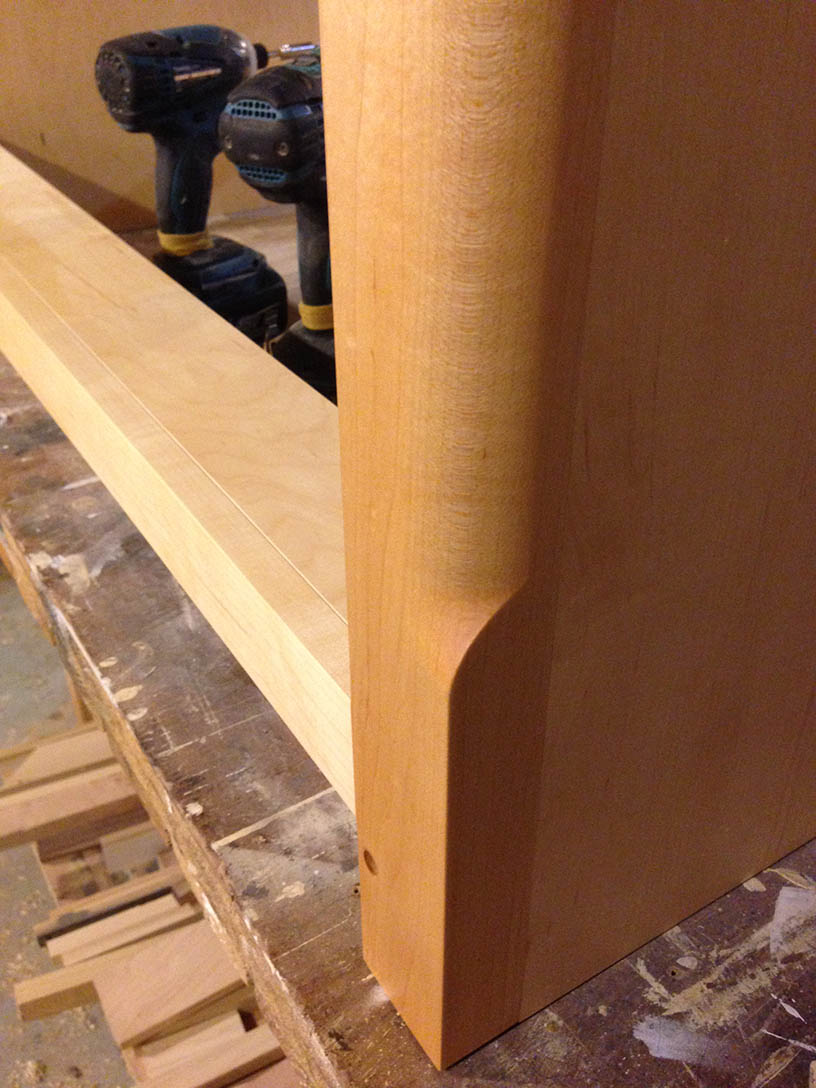
right, front corner of unit, at the floor
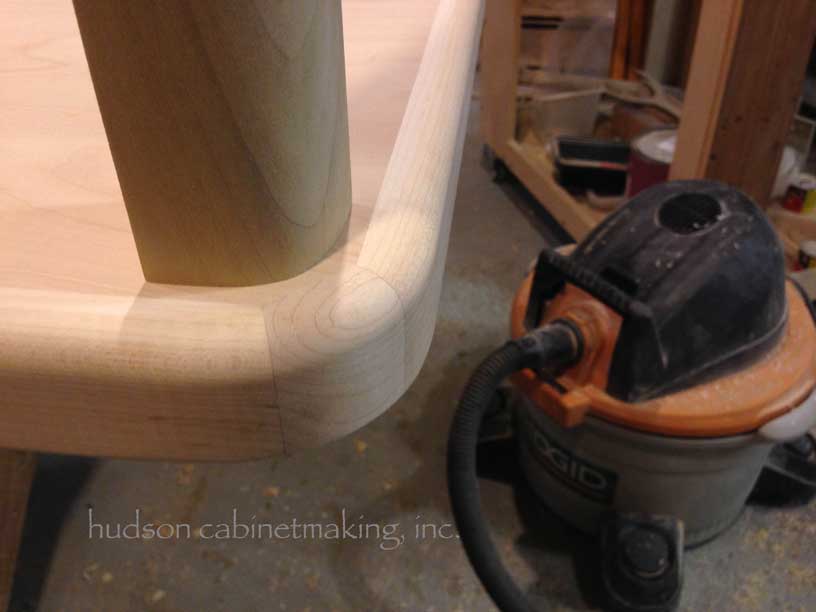
As this outside, vertical edge was now round, the counter top would look best if rounded in that corner as well (to match). Here you see how I affixed solid maple to the plywood’s edge and marked the radius I wanted to achieve. I used a belt sander for the radius & a large router to ‘round over’ the entire counter’s top edge.
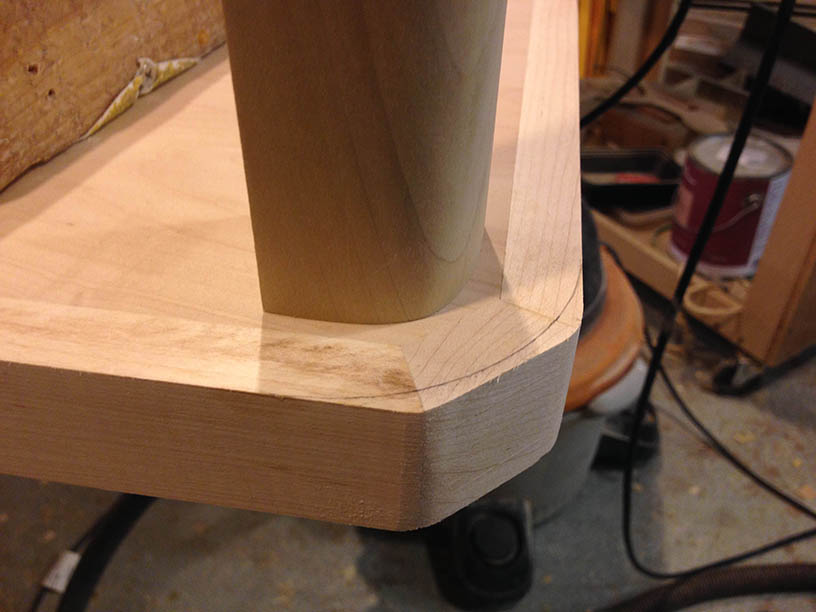
one 45 degree piece was just right for this size radius on the counter top
Here are a number of shots showing the installation. We began by repositioned the power & data lines (behind the TV) and began installing from the corner, left to right.
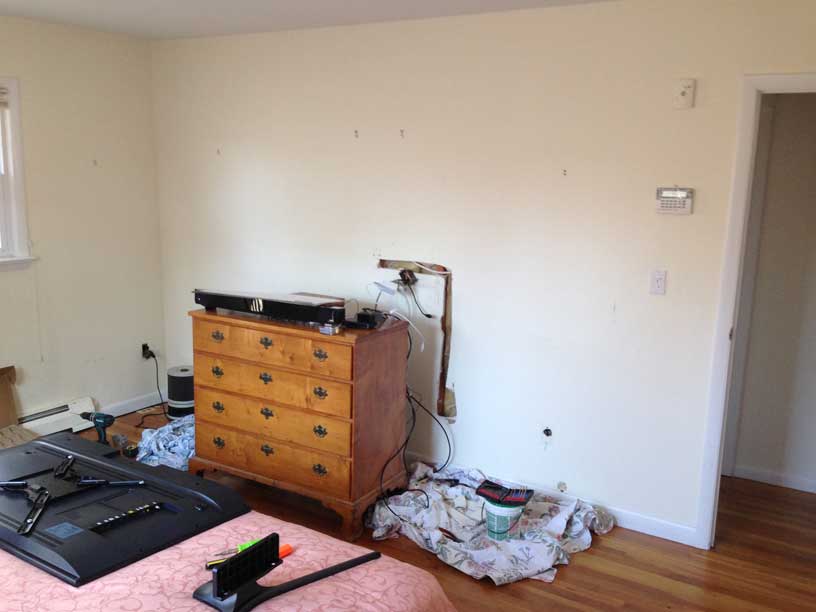
reposition power and data lines
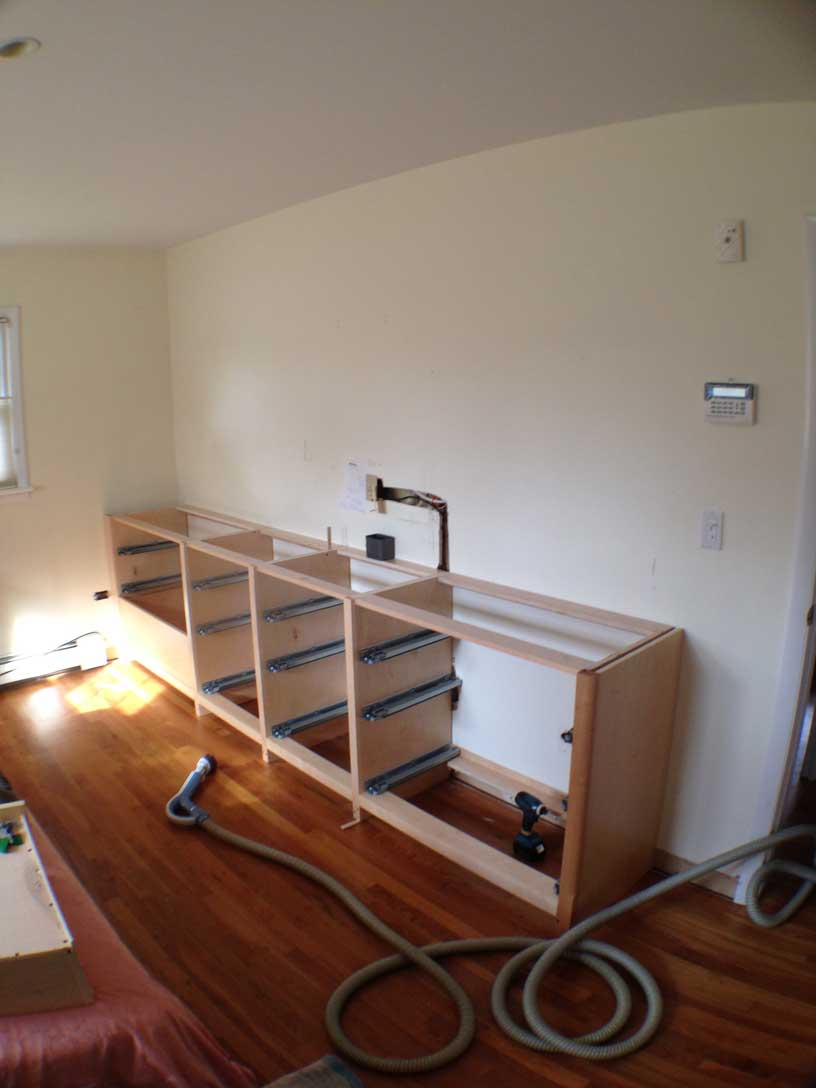
position base cabs / use wedges against the floor to make them all dead level and aligned.
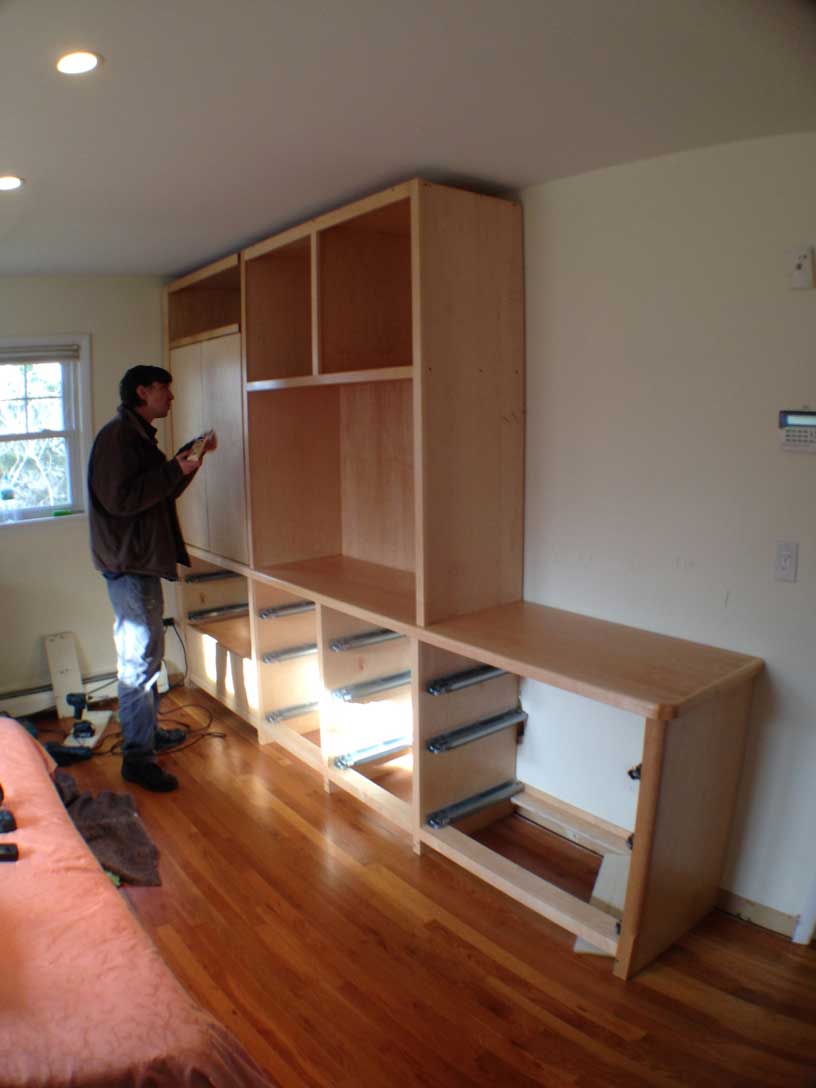
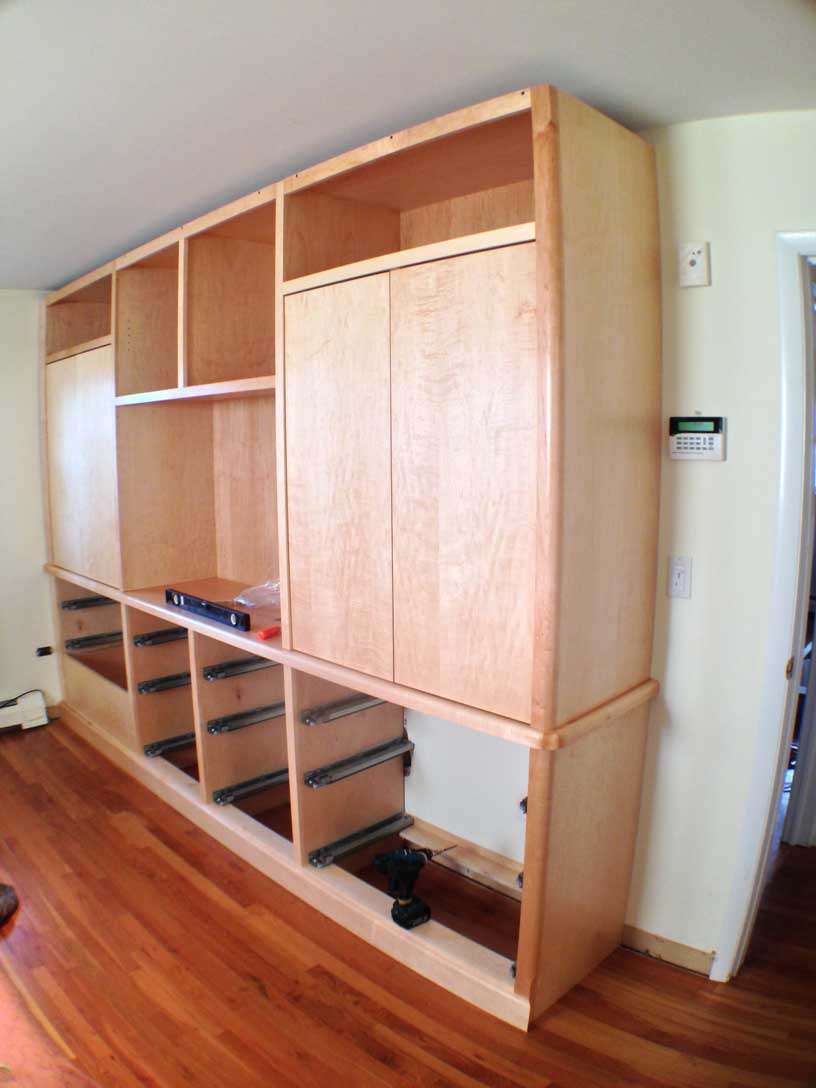
when the base is flat and level, the upper cabs come together perfectly
Though they had yet to fill it up, I took a shot of it after we wall mounted the TV and placed a few objects on the shelves.
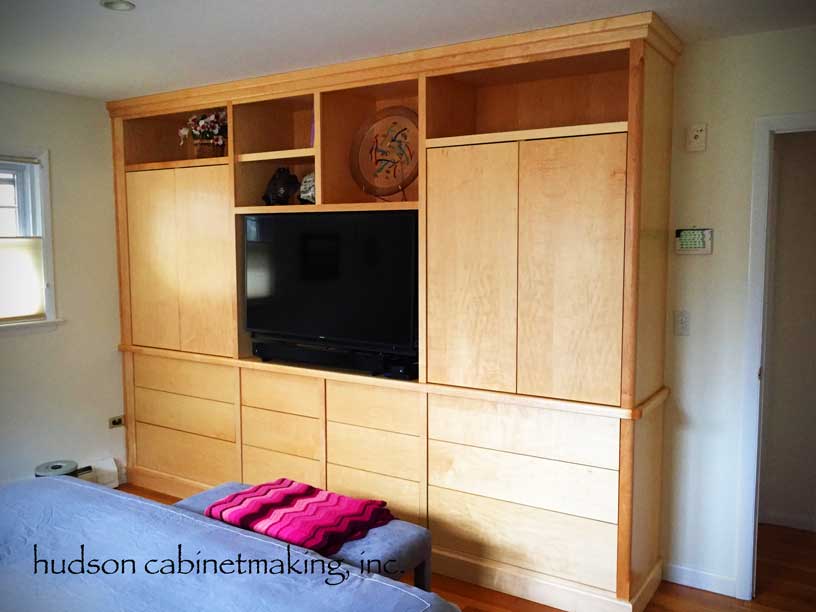
I’ve spoken with them since. They are very pleased with how it turned out. We work pretty hard to make sure a client says that .